How to Setup IntelliJ Idea
and Create a Project
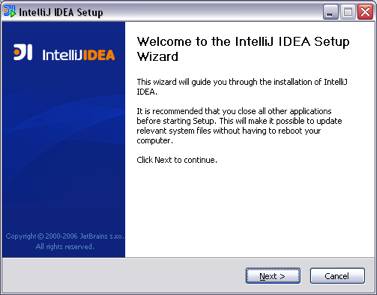
Download IntelliJ Idea. Click on installation program and follow the prompts.
Select the correct language.

Click on OK button when done selecting your language preference.
Click the Next button.
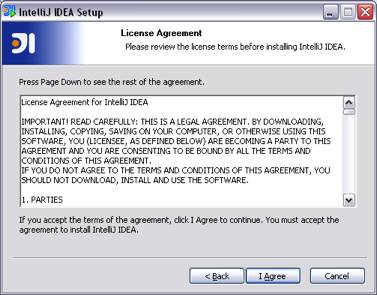
The license agreement window will open up. Click on the I Agree button to proceed with the installation or the Cancel button to stop the installation and exit setup program.
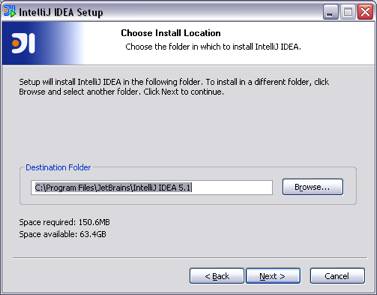
The Choose Install Location window will prompt you to either except the default installation directory or select the location where you would like to install IntelliJ. If the installation directory is ok select the Next button to continue with the installation.
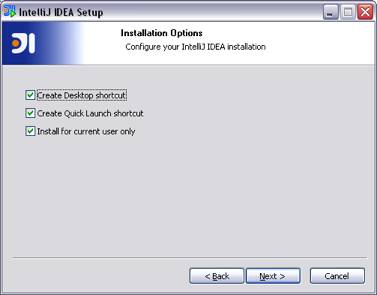
Select your Installation Options. Click on the checked boxes to uncheck the box if so desired. If the default configuration is ok click on the Next button to continue.
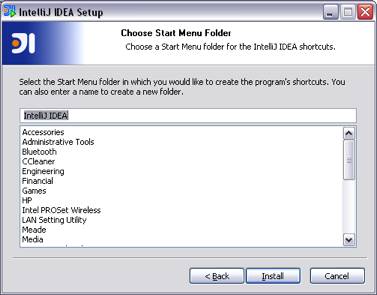
The Start Menu Folder window allows you to select where you would like the IntelliJ shortcuts to be located. Make changes here or you can accept the default selection. Click on the Install button when ready to continue. The installation of IntelliJ will then start.

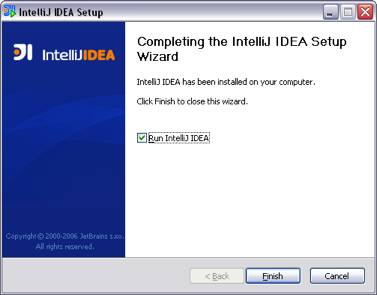
If you do not want IntelliJ to start when the Finish button is pressed uncheck the box next to Run IntelliJ Idea by clicking on it with the mouse. Click on the Finish button to complete the installation or the Cancel button to abort the installation.
The first time IntelliJ runs you will be asked if you would like to import your settings from a previous version of IntelliJ.
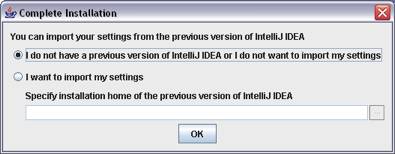
Click on the OK button if you do not need to import your settings from another version.
Next you will be prompted to enter in the User Name and license key.
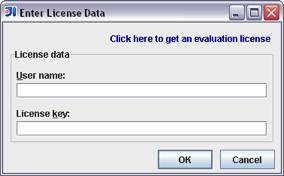
After the information is entered click on the OK button.
The license agreement window will open.
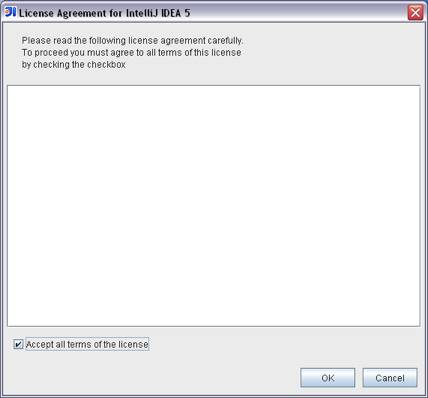
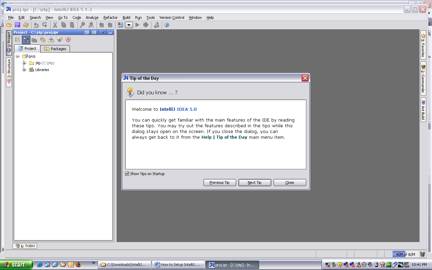
Check the Accept all terms of the license box by clicking on it with your mouse and then click on the OK button. IntelliJ will then start.
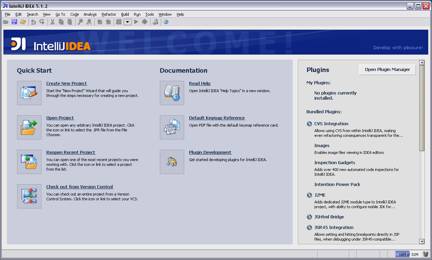
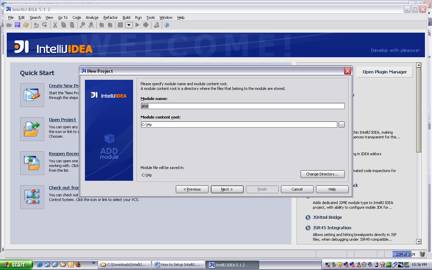
Select Create New Project and the New Project window will open.
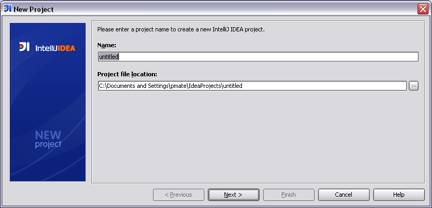
Enter a name for your project in the Name text box and select your project file locations by clicking on the browse button to right of the Project file location text box.
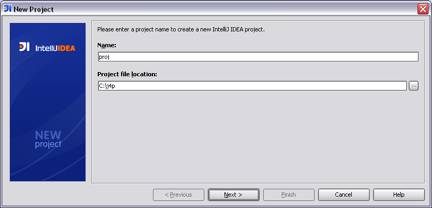
Click on the Next button when done.
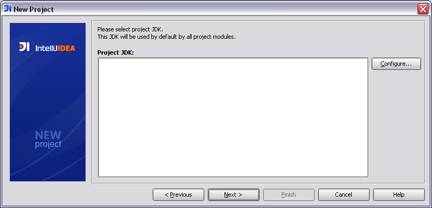
Click on the Configure button and the Configure JDK window opens.
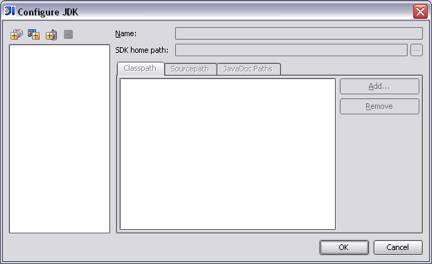
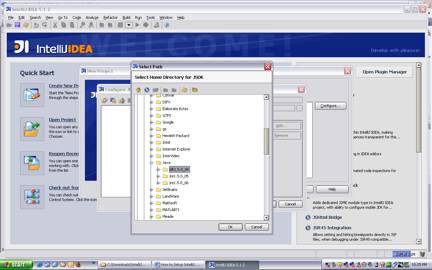
There are three buttons with plus signs in the upper left corner of the open window. Click on the plus sign at the far left of the Configure JDK window to open the Select Path window.
Select the location where the java development kit (i.e. jdk1.5.0_06) you wish to use is located. Make sure you select the jdk and not the jre.
Click on the OK button to accept the selection.
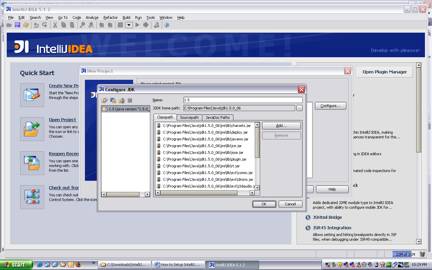
Click on the OK button to complete the jdk configuration.
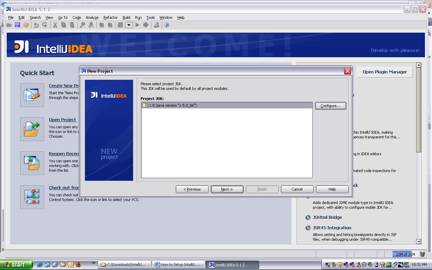
Click on the Next button to return to the New Project window.
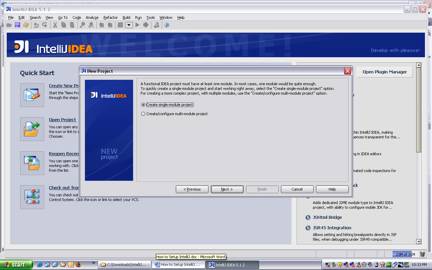
Click on the Next button. Select Java Module in the Select module type window.
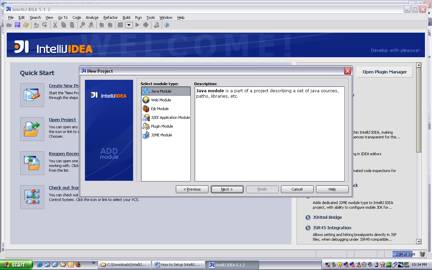
Click on the Next button.
Click on the Next button.
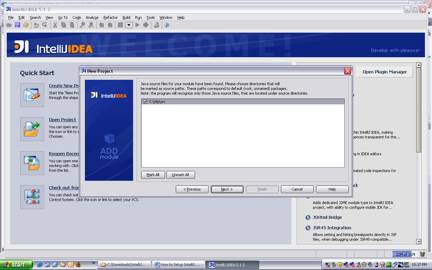
Make sure the source file is checked in the New Project window and click the Next button.
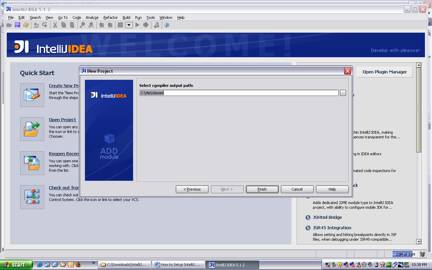
Click the Finish button and the program will start loading the project.
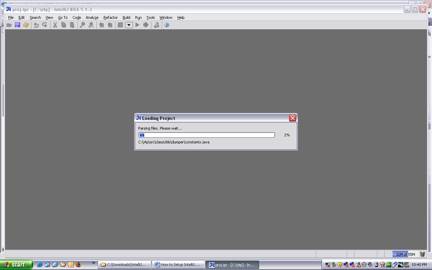
Wait for the file scanning and loading of the project to be completed.
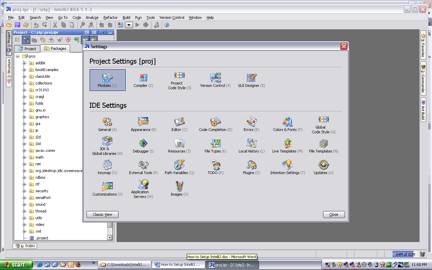
In the button menu select the Settings button (looks like a monkey wrench)

The Settings window will open up.
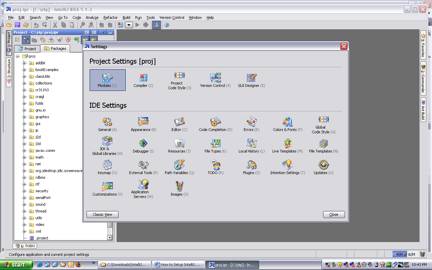
Click on the Modules button.
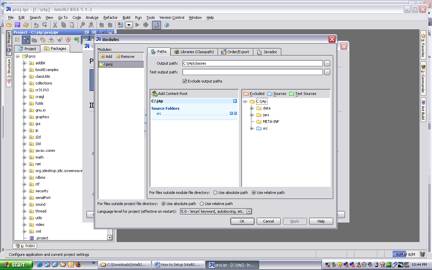
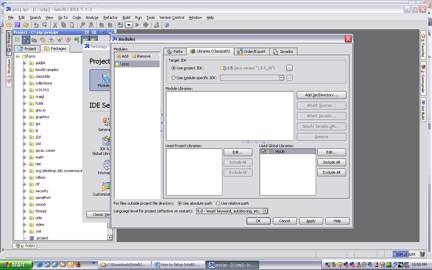
Select the Libraries (Classpath) tab.
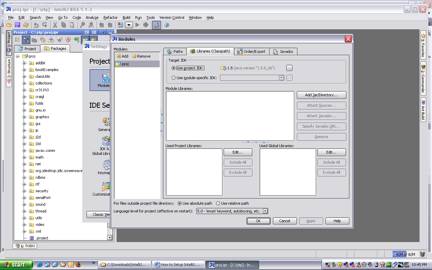
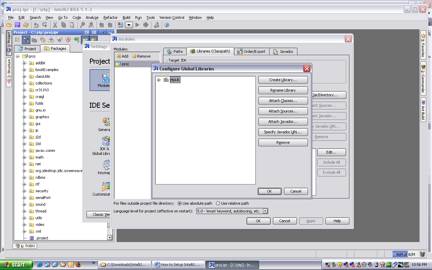
Click on the Edit button next to the Used Global Libraries window and the Configure Global Libraries window will open up.
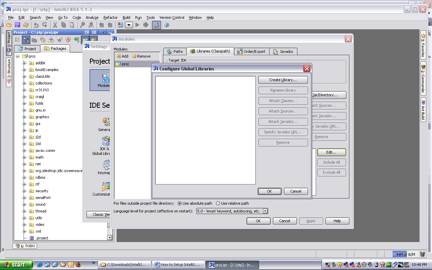
Click on the Create Library button and the Choose Library Classes window will open.
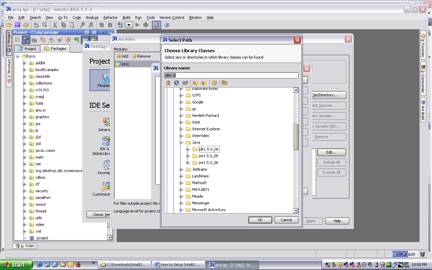
Go to the project directory and open the Jars folder.
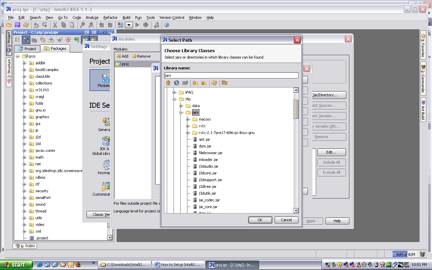
Enter a name for your library in the Library Name text box and select all the files with the jar extension. A suggest for your library name is j4pLib but you can use whatever name you like.
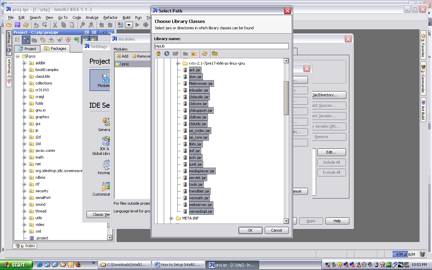
Click the OK button in the Select Path window.
Click the OK button in the Configure Global Libraries window.
Click the OK button in the Modules window.
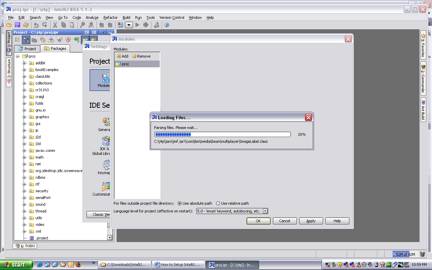
Wait till loading files is completed.
Close the Settings window.
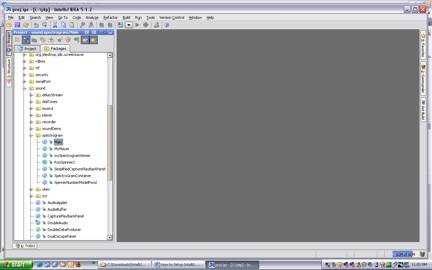
Select the \proj\sound\spectogram\Main file in the Packages tab.
Right mouse click on the Main file.
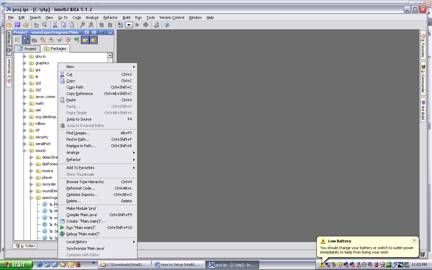
Select Run Main.main() and the class files will start compiling.
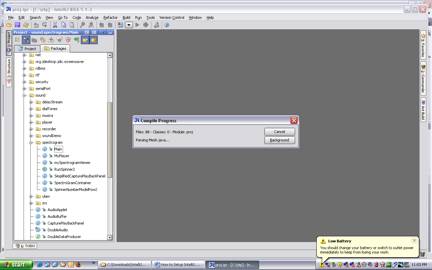
Wait till the program finishes compiling. If the Main
program runs after the compiling is completed then your project should be setup
correctly.